Read This Before You
Submit Your Music
to Blogs, Curators, or Radio

Promoting new music is one of the most challenging (and discouraging) parts of being an artist or running an indie label.
Submitting your music to blogs, playlists, curators, and radio stations can feel like shouting into the void.
But with the right process, you can increase your chances of actually getting heard.


Here are five essential steps to take before you pitch your music:
1. Get Organized
Before you send a single email, gather your metadata and promo assets. Metadata includes your track title, ISRC, barcode, release date, lyrics, BPM, key, songwriter info, and more.
Promo assets include MP3 and WAV files, press photos, album art, and a press page or one-sheet.
Having these items ready (and stored in a spreadsheet or shared folder) ensures you’re never scrambling when someone asks for them.
2. Build Your Own Contact List
Forget about buying email lists.
Instead, build your own intentional press list… starting with blogs, curators, and radio stations you know are a good fit.
Keep it organized in a spreadsheet, and continually update it after every campaign, create columns that indicate if they responded, shared, declined, etc.
Think of your list both as a press resource and as a personal to-do list for each release.
3. Keep Your Pitch Simple
When it comes time to email, keep it short and clear:
Greet the person by name
Share the artist and release date
Describe the music briefly (or use “for fans of…”)
Include one streaming link (SoundCloud, Bandcamp, or unlisted YouTube)
Don’t add any mp3/wav attachments!
Curators and bloggers receive dozens (sometimes hundreds) of pitches a day. A clean, simple pitch with a playable link is far more likely to be opened.
4. Track Your Progress
Use your spreadsheet to track who you contacted, how they responded, and whether they supported your release.
This record is invaluable for future campaigns, especially when you want to thank supporters or avoid double-pitching.
If you’re not getting a good response rate, try again with a new batch of recipients.
5. Follow Up (Once)
If you don’t hear back, it doesn’t always mean they hated your music. They may have missed your email.
Following up once (with a fresh subject line) can sometimes make the difference.
But don’t overdo it—if they’re not interested, move on and try again with your next release.
Conclusion:
Pitching your music will always involve some rejection. But when you stay organized, keep it simple, and treat every campaign as a learning experience, you’ll give your music a better chance of getting heard—and save yourself a lot of frustration along the way.
And big thanks to our friends at LANDR for being a trusted partner in the indie music community. If you're looking for a distro that offers real value beyond distribution, they’re worth checking out.


Music Submission & Promotion Checklist
1. Get Organized
Create a master folder (Dropbox/Google Drive) with all promo assets
Prepare a metadata sheet (track title, artist, catalog #, ISRC, UPC/barcode, BPM, key, songwriter info, release date)
Save lyrics in a single document
Export final files: WAV, MP3, instrumental versions if available
Add press photos (multiple sizes)
Save album/single artwork (high-res + web-friendly versions)
Build a press page / one-sheet (bio, release info, streaming links, social links, photos, cover art)
2. Build & Update Your Contact List
Create a spreadsheet with contacts (blogs, playlist curators, radio, influencers, music supervisors)
Note: contact name, email, publication/platform, type (radio, blog, influencer, etc.)
Add “history” column to track who has supported you before
Keep separate sub-lists for genre-specific campaigns
3. Craft Your Pitch Email
Write a short and personal greeting
Include artist name, release title, release date
Add 1–2 sentences describing the music (optionally: “for fans of…”)
Insert one streaming link only (SoundCloud private link, Bandcamp, unlisted YouTube)
Attach or link to press photo/cover art if essential
Add clear subject line: Artist – Title – Release Date [Genre]
4. Track Your Progress
Mark who you sent to in your contact list
Track responses (supported, ignored, declined, unsubscribed)
Note past support for easier follow-ups next release
Highlight “priority contacts” for next campaign
5. Follow Up & Move On
Send one polite follow-up if needed (with new subject line)
Don’t follow up more than twice
Record outcome in your spreadsheet
Move on and expand your list for next release
What Metadata Do You Need?

Download my FREE Metadata Checklist
I’ve broken them down into 4 categories… Basic Metadata; Creator Metadata; Technical Metadata; Marketing Metadata.
Basic
Metadata
Title
Artist Name
Release Date
Lyrics
Technical
Metadata
ISRC
UPC
Bpm
Key
Duration
Creator
Metadata
Songwriter(s)
Producers
Musicians
Copyright
Marketing
Metadata
Cover Art
Release Notes
Genre
Mood/Theme
Helpful Articles for Record Labels
-
10 Steps to Planning Your New Release
50 Reasons Why You Should Start a Record Label
How Fans Can Support Record Labels
How Many Releases Per Year is Ideal?
How to Register Your Record Label
How to Submit Your Music to Record Labels
How to UNSTUCK your record label
Leveraging the Power of Lead Time
Record Store Day
Social Media Strategies & Solutions
Social Media Strategies & Solutions
The 4 Attributes of a Great Record Label
Why Artists Need a Record Label
Why Do We Release Music on Fridays?

How to Make a Business Plan
Record Contract Template
How to Start a Record Label
Branding & Album Artwork
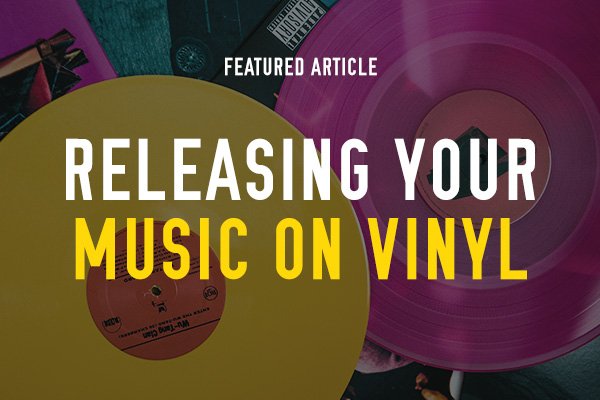
Releasing Music on Vinyl

Music Publishing for Labels
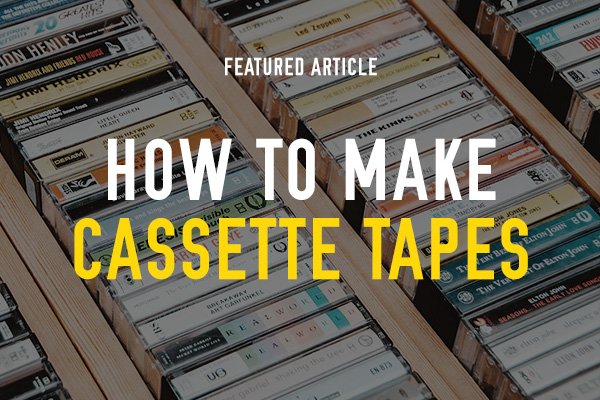
How to Make Cassette Tapes
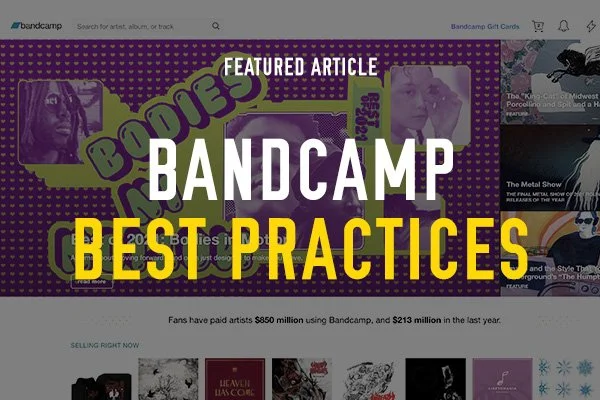
Bandcamp Best Practices
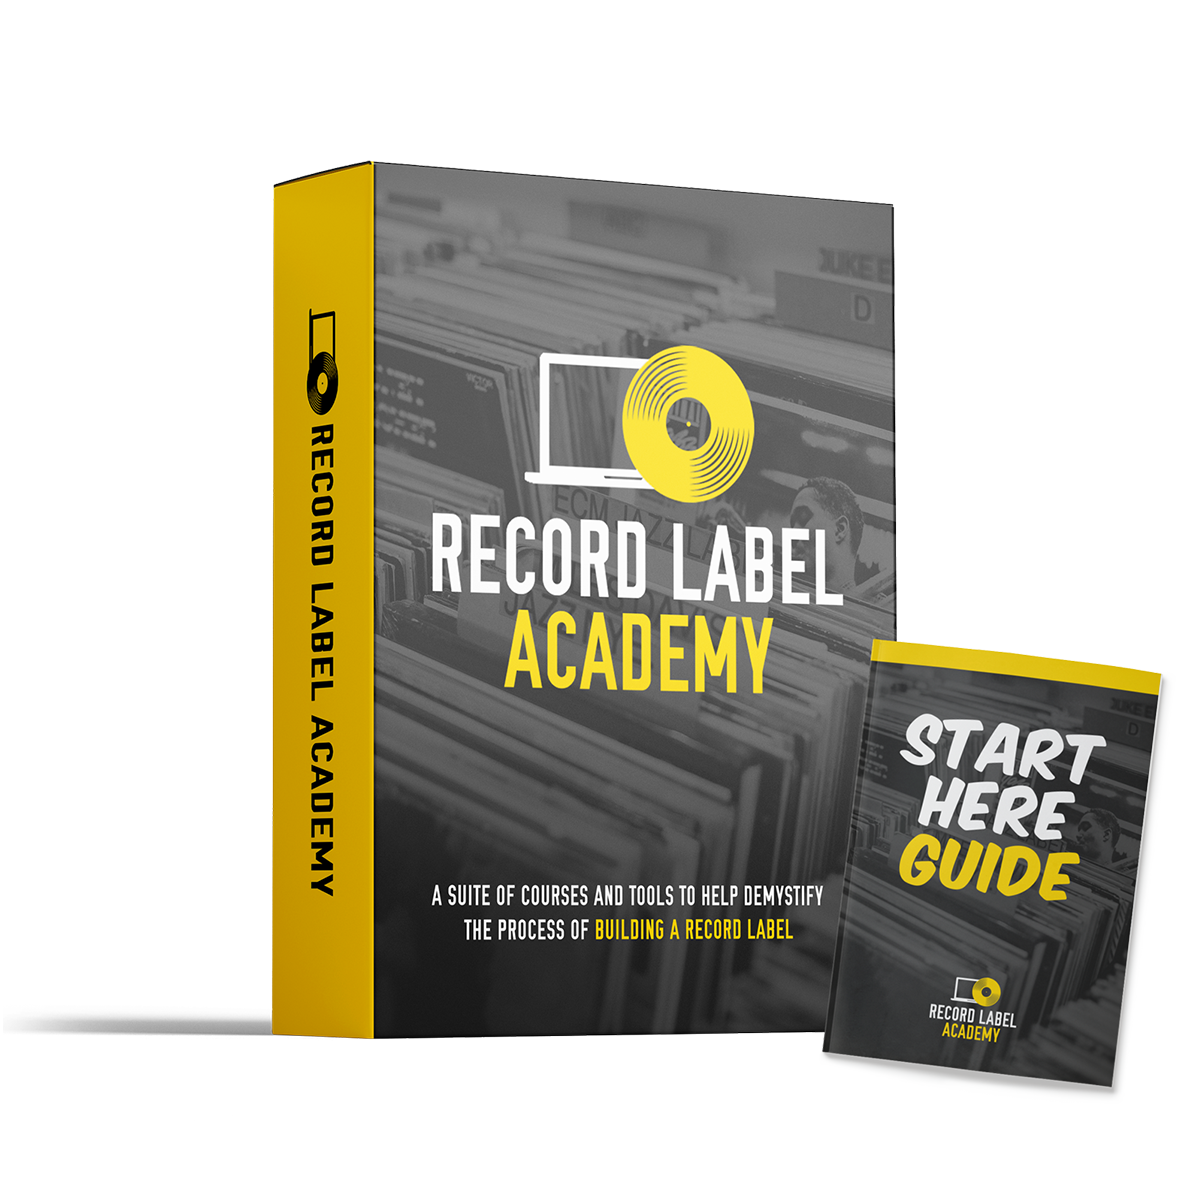
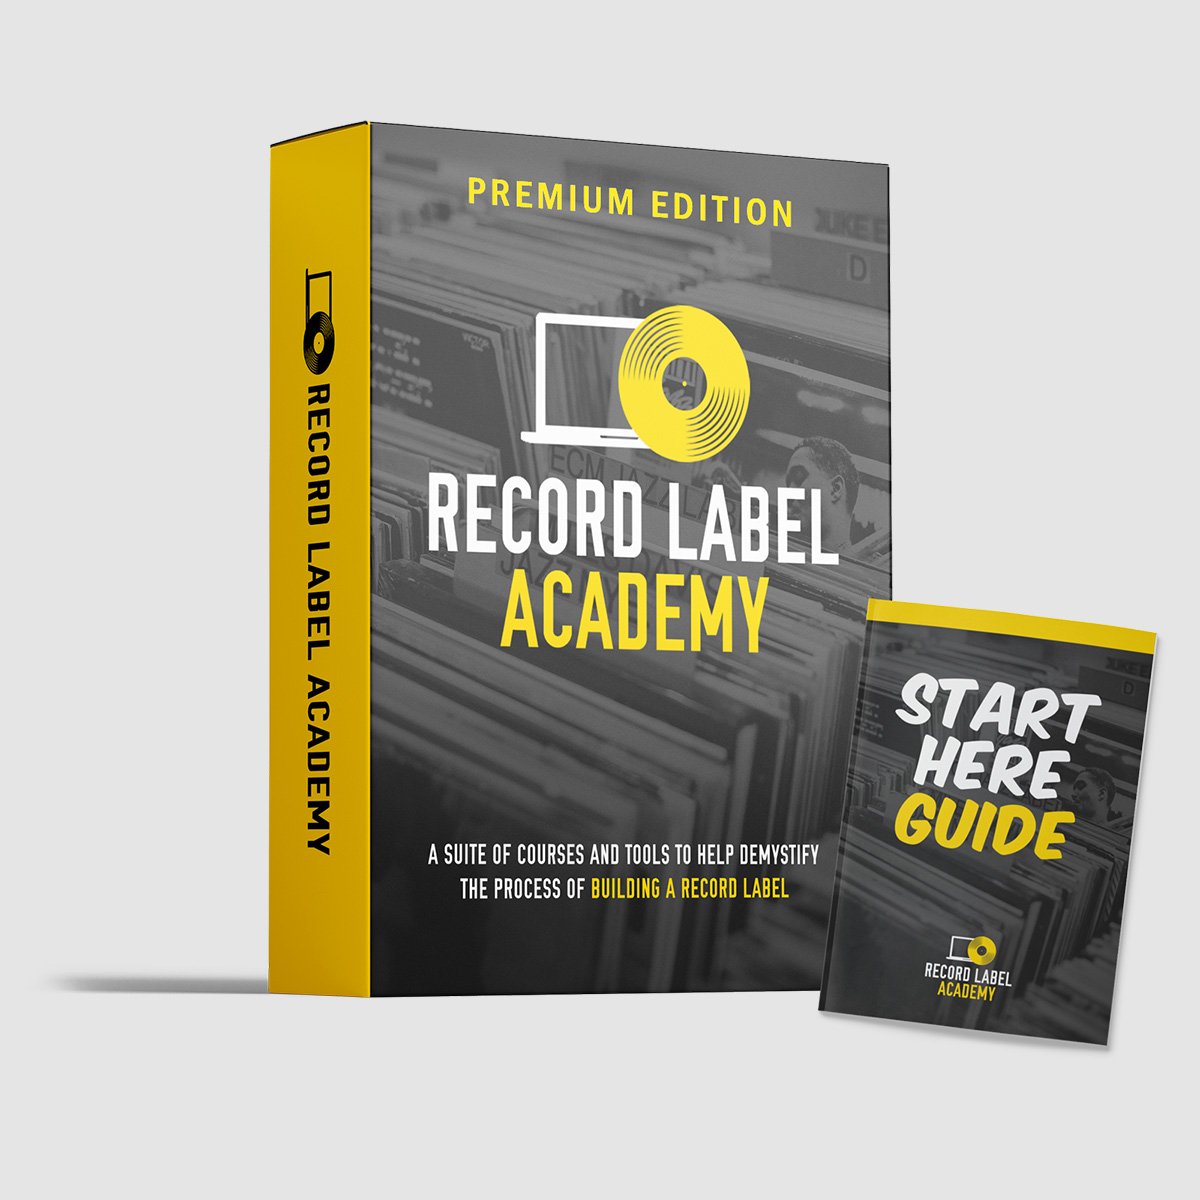
RECORD LABEL
ACADEMY
The Complete A to Z of Building and Growing an Independent Record Label.
BEST VALUE
*
BEST VALUE *

RECORD LABEL
ACADEMY
Instant + Lifetime Access to all my courses, books, and templates!
Starting a record label business is exciting, but also overwhelming…
Where should you begin? What is essential and what is a waste of time?
Our courses and tools are here to help demystify the process, and to provide you with a step-by-step plan!
Included in The Record Label Academy - Premium Edition
Your “Start Here” Guide
How to Start a Record Label (Online Course)
Marketing for Record Labels (Online Course)
Profitable Record Label (Online Course)
Record Label Decision Tool (Online Course)
New Release Blueprint (Online Course)
10x Micro Courses (Sync Licensing, Music Publishing, Bandcamp Basics, Spotify Basics, Pressing Vinyl, Email Marketing, Income Generating, Social Media, Artwork + Design, Web Design)
8x Micro Books (Email Marketing, Music Publishing, Sync Licensing, Web Design, Artwork + Design, Spotify Basics, Bandcamp Basics, Pressing Vinyl)
Record Label Business Plan Template - Premium Version
How to Start a Record Label (eBook)
Marketing for Record Labels (eBook)
Why We (Still) Need Record Labels (eBook)
Don’t listen to bad advice, don’t get overwhelmed with information, and don’t waste money!
Tackle one music industry topic at a time until you’ve built a record label that is bespoke to who you are as a music curator and fan!
A record label that allows you to earn a living telling people about great music!
Let’s get started!
3 Year Music Business Degree: $246,906

Other Record Labels Podcast
Featuring interviews with…